Unfortunately the Nexus 4 does not support Android Marshmallow, but many Nexus 4 users would love to be able to run Marshmallow. In his talk at GDG Android in Seoul, Youngho Cha demonstrates how to use a few tricks to modify the AOSP build to output a Nexus 4 factory compatible image of Marshmallow.
I’m not a Nexus 4 anymore

I’ve been a proud Nexus user since I started using the Nexus 4. The Nexus 4 was introduced in 2012 and was released with Android 4.2. Since then, it has received OTA updates for Android 4.3, 4.4, 5.0, and the 5.1. Unfortunately though, Android 6.0 is not supported on the Nexus 4.
I was very disappointed, but then I found that Dmitry Grinberg wrote the following article and saved my day! - How to build Android Marshmallow on Nexus 4
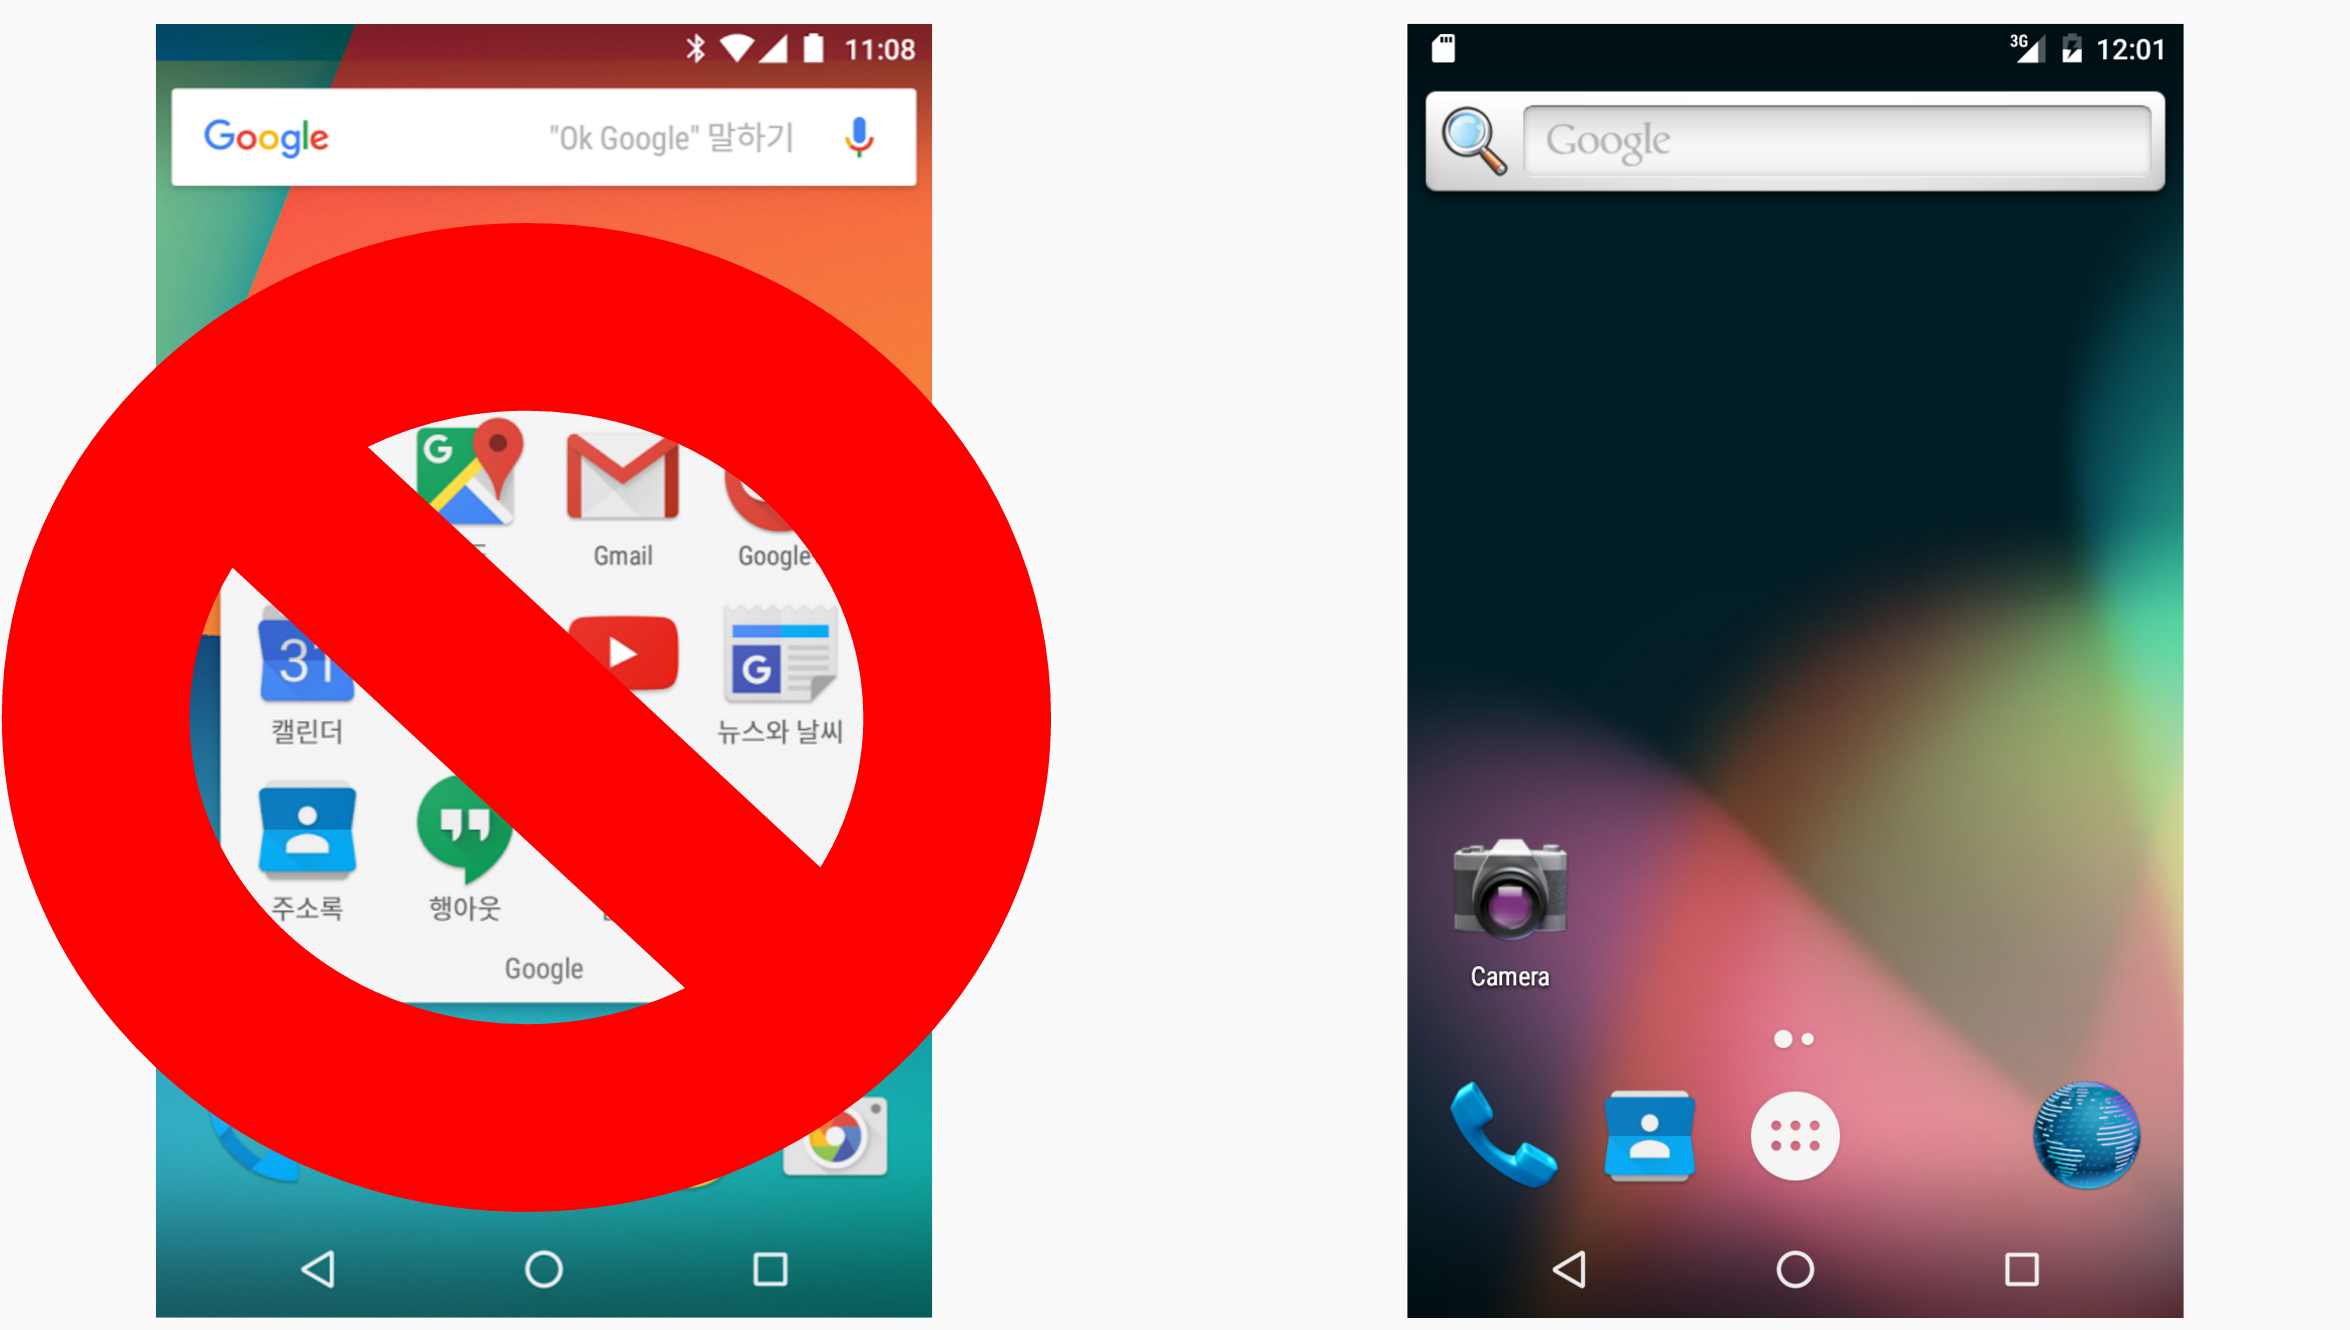
Unfortunately this wasn’t what I wanted. So, I decided to make my own. My goal was to install a more nexus-ish Android 6.0 while still allowing for additional features when it’s done.
What is AOSP?
Maybe you’ve heard about AOSP (Android Open Source Project), but don’t really know what it actually is. Most Android developers visit the Google Developer website, but not the AOSP website.
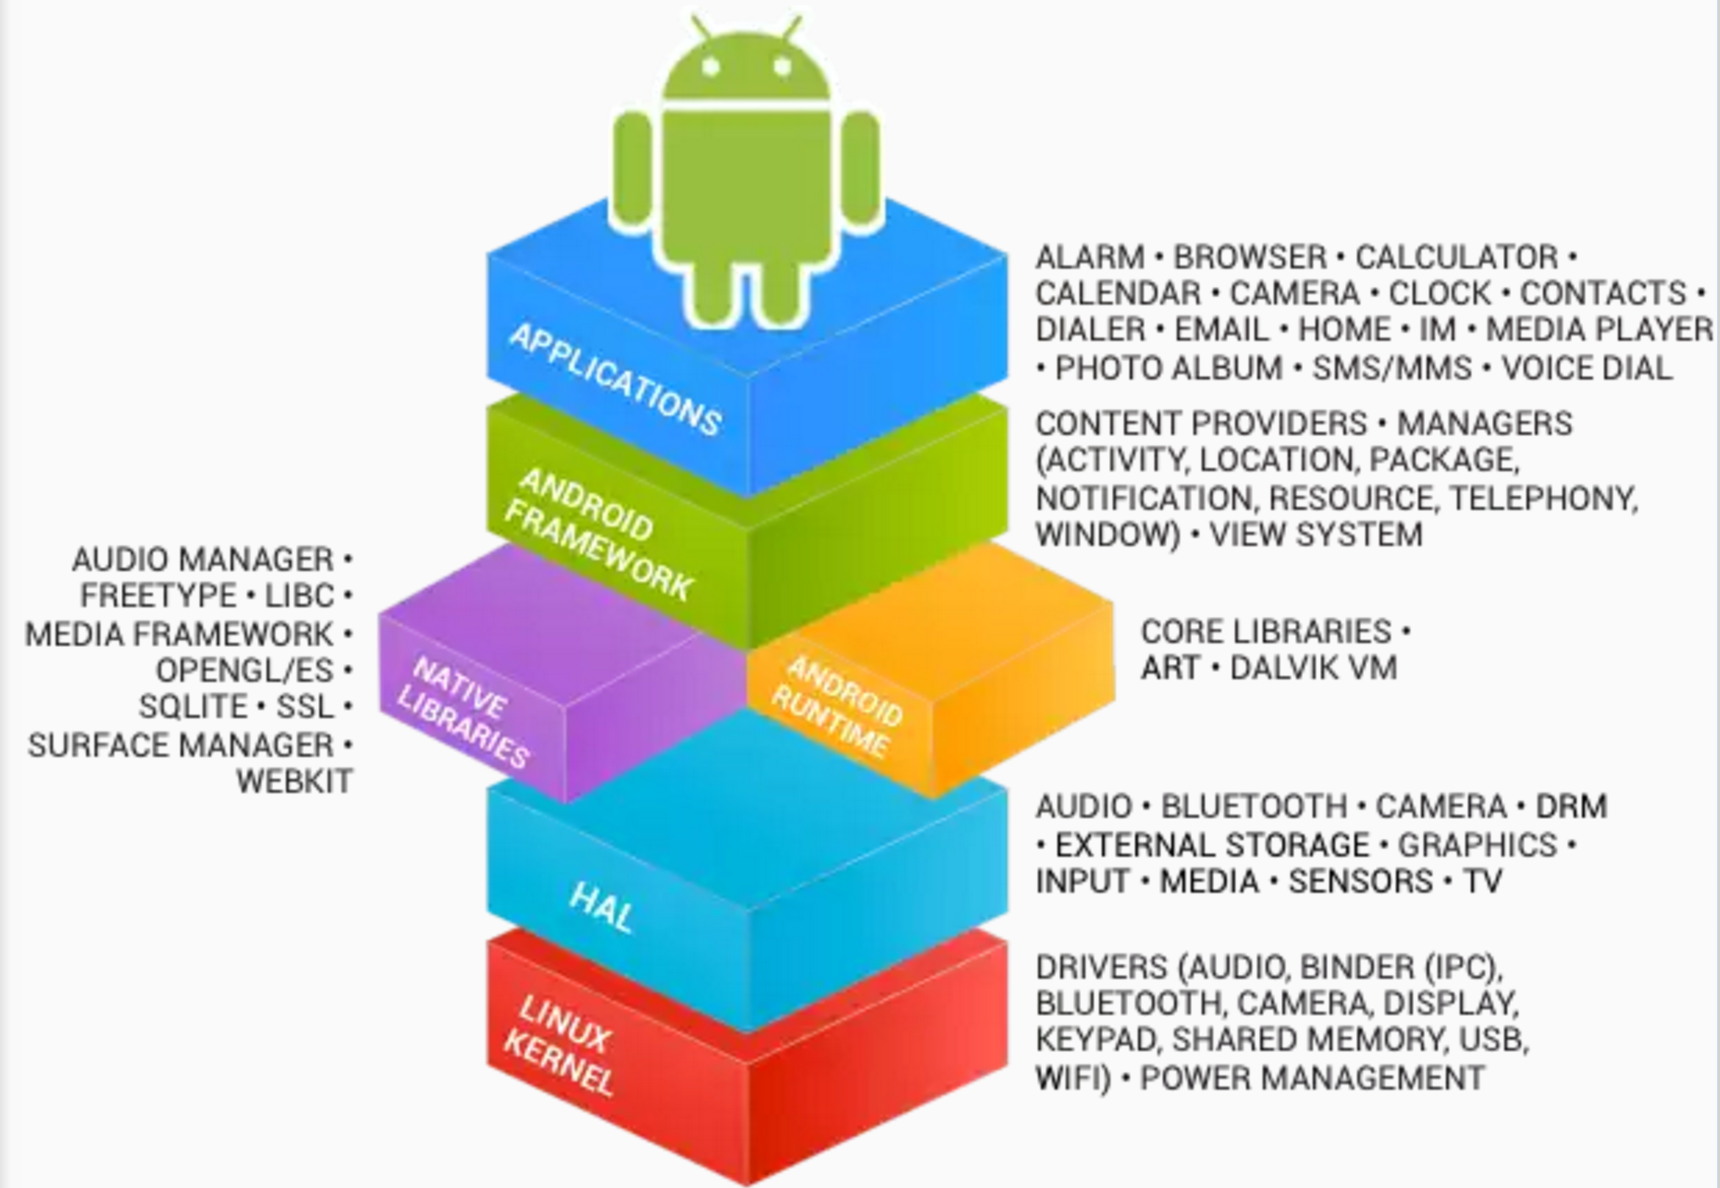
AOSP contains more projects than you possibly realize. Android OS is open-sourced, as are the SDK, Emulator, NDK, Android Studio, Docs, Nexus 9’s secure zone Trust Zone, Brillo and much more.
Brillo has not been officially released as open source, but rumor has that it will be.
Here is the how to build AOSP documentation. It supports limited devices that you can build an image with - currently Nexus, some SONY devices, and a few more.
| Manufacture | Product name | Hardware | Product | Nexus Product |
|---|---|---|---|---|
| Huawei | Nexus 6P | angler? | ? | ? |
| LG | Nexus 5X | bullhead | bullhead | bullhead |
| Motorola | Nexus 6 | shamu | shamu | shamu |
| LG | Nexus 5 | hammerhead | hammerhead | hammerhead |
| ASUS | Nexus 7(2013) | flo, deb | flo, deb | razor, razorg |
| LG | Nexus 4 | mako | mako | occam |
| Samsung | Galaxy Nexus | tuna | magruo, toro | yakju, takju, mysid |
| Samsung | Nexus S | herring | crespo | soju |
The hardware code names are actually sea animals, so build the Nexus 5 image, you should find hammerhead not Nexus 5. I searched with mako for Nexus 4. To build the Nexus S image, you need to find crespo. Some of these names are the same as the hardware code names, but some are different. Product code names like this are kind of like a recipe, and when you use these recipes you can build an Android binary that fits the hardware. FYI, emulator is also sea animal - the current emulator is goldfish and the new one under development is called ranchu.
Actually, the Nexus factory images have different code names from product code names. The image name and the product name are the same from Nexus 5 on, but for old versions they are different. Two Samsung devices are using Korean liquor names, and if you merge Nexus 4 and Nexus 7, it becomes “Occam’s Razor”.
Building a Nexus Like Image
The factory image recipe being used by Google and the AOSP recipe are different. I am focusing on the differences in order to easily determine the similarities. To view the differences, I ran a ‘diff’ on each of the files
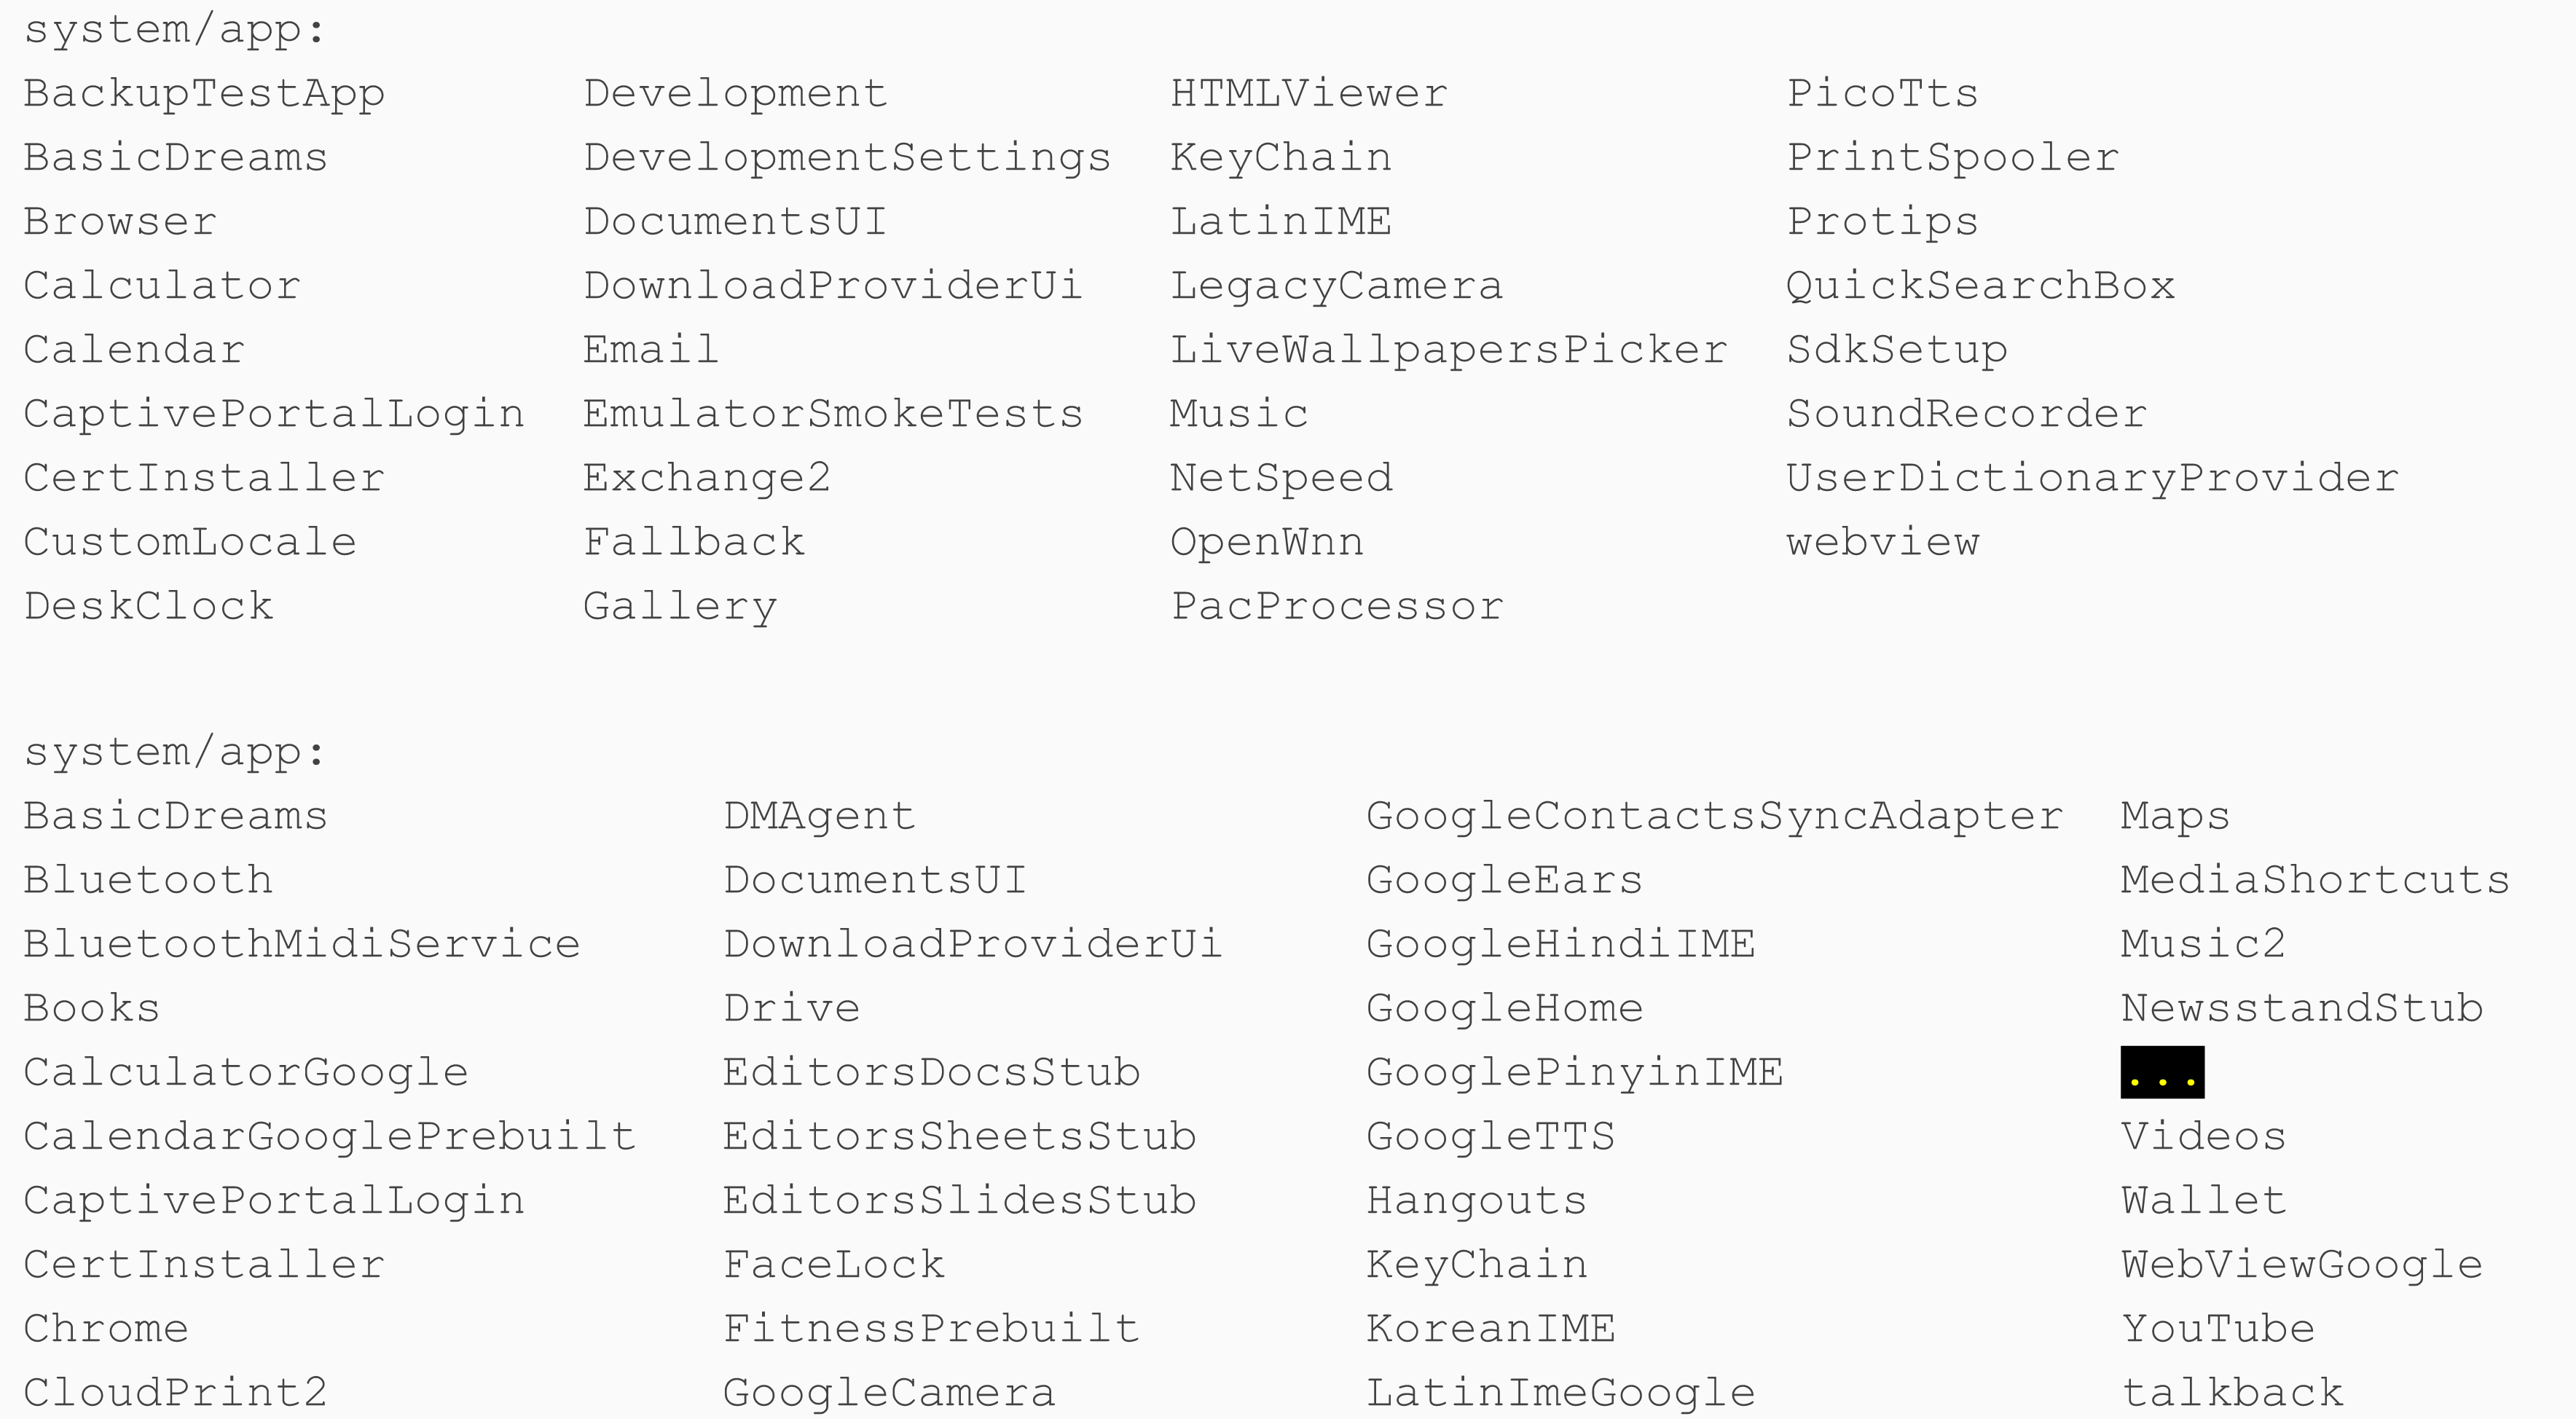
Since there are so many fields on factory image, I omitted the last part (there are many more).
![]()
Here’s a table to help you understand this better, but please note these changes: Browser is changed to Chrome and many apps are replaced with their Google equivalent.
All Google apps are using Google Play Services. AOSP apps don’t use Google Play Services.
To make the AOSP image conform to a Nexus, we need Google Play Services and Google Apps. Even when we install the Google Apps on an AOSP image it doesn’t provide the Nexus experience. To create a better integrated experience, we need to change some system properties.
System properties that need to be updated: * /root/default.prop * /system/build.prop
For the apps below the AOSP version and factory image version is different: * /system/framework/framework-res.apk * /system/priv-app/SettingsProvider.apk * /system/priv-app/Settings.apk * /system/priv-app/SystemUI.apk * /system/priv-app/TeleService.apk
Those 5 apps on AOSP and on the factory image are different. The source code is the same but it’s built differently.
To find out what makes these different, we can use the tool called aapt. aapt is usually used to create an APK file by the Android build tools, but you can also use it for APK debugging too.
$ aapt d --values resources framework-res.apk

spec resource 0x01040029 android:string/default_sms_application: flags=0x00000000
resource 0x01040029 android:string/default_sms_application: t=0x03 d=0x00001e00 (s=0x0008 r=0x00)
          (string8) "com.android.mms"
I extracted values that had differences by dumping the resources. Now, I want to change the values I’m interested in. Furthermore, I want to do it without changing the source code.
To change constants, I am going to override the build config. Here’s an example of how to override the constants -
PRODUCT_PROPERTY_OVERRIDES := \
	ro.com.android.dataroaming=false \
to replace the resources, I used this override -
PRODUCT_PACKAGE_OVERLAYS := \
	device/lge/occam/overlay
When you override the package this way the build process will change as shown below
out-occam-user/host/linux-x86/bin/aapt package blahblah
     -S device/lge/occam/overlay/frameworks/base/core/res/res
     -S device/lge/mako/overlay/frameworks/base/core/res/res
     -S frameworks/base/core/res/res
The first registered -S option will be included with a higher priority. In case of a Drawable, it will change to a Drawable that registered earlier. In case of an XML file, each element will be merged and the first registered one will be selected when there is a conflict. Since each element will be merged (not each file) it’s quite easy to make the changes.
To replace an app, use LOCAL_OVERRIDES_PACKAGES
include $(CLEAR_VARS)
LOCAL_MODULE := Chrome
LOCAL_SRC_FILES := com.android.chrome.apk
LOCAL_MODULE_CLASS := APPS
LOCAL_MODULE_TAGS := optional
LOCAL_OVERRIDES_PACKAGES := Browser
LOCAL_CERTIFICATE := PRESIGNED
LOCAL_MODULE_OWNER := google
include $(BUILD_PREBUILT)
PRODUCT_PACKAGES := \
Chrome \Browser won’t be installed as this will install Chrome successfully
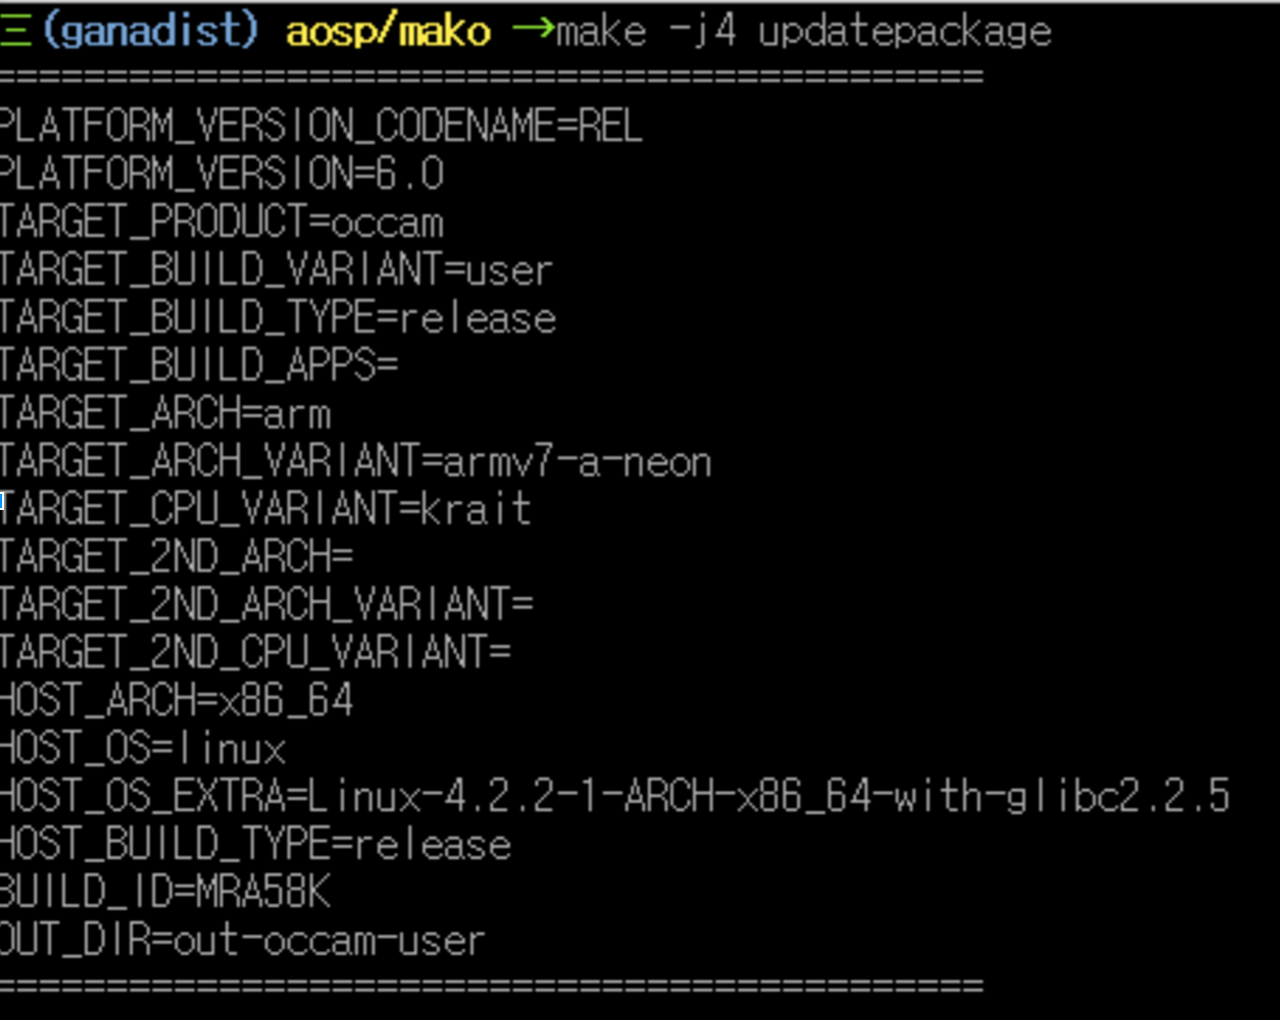
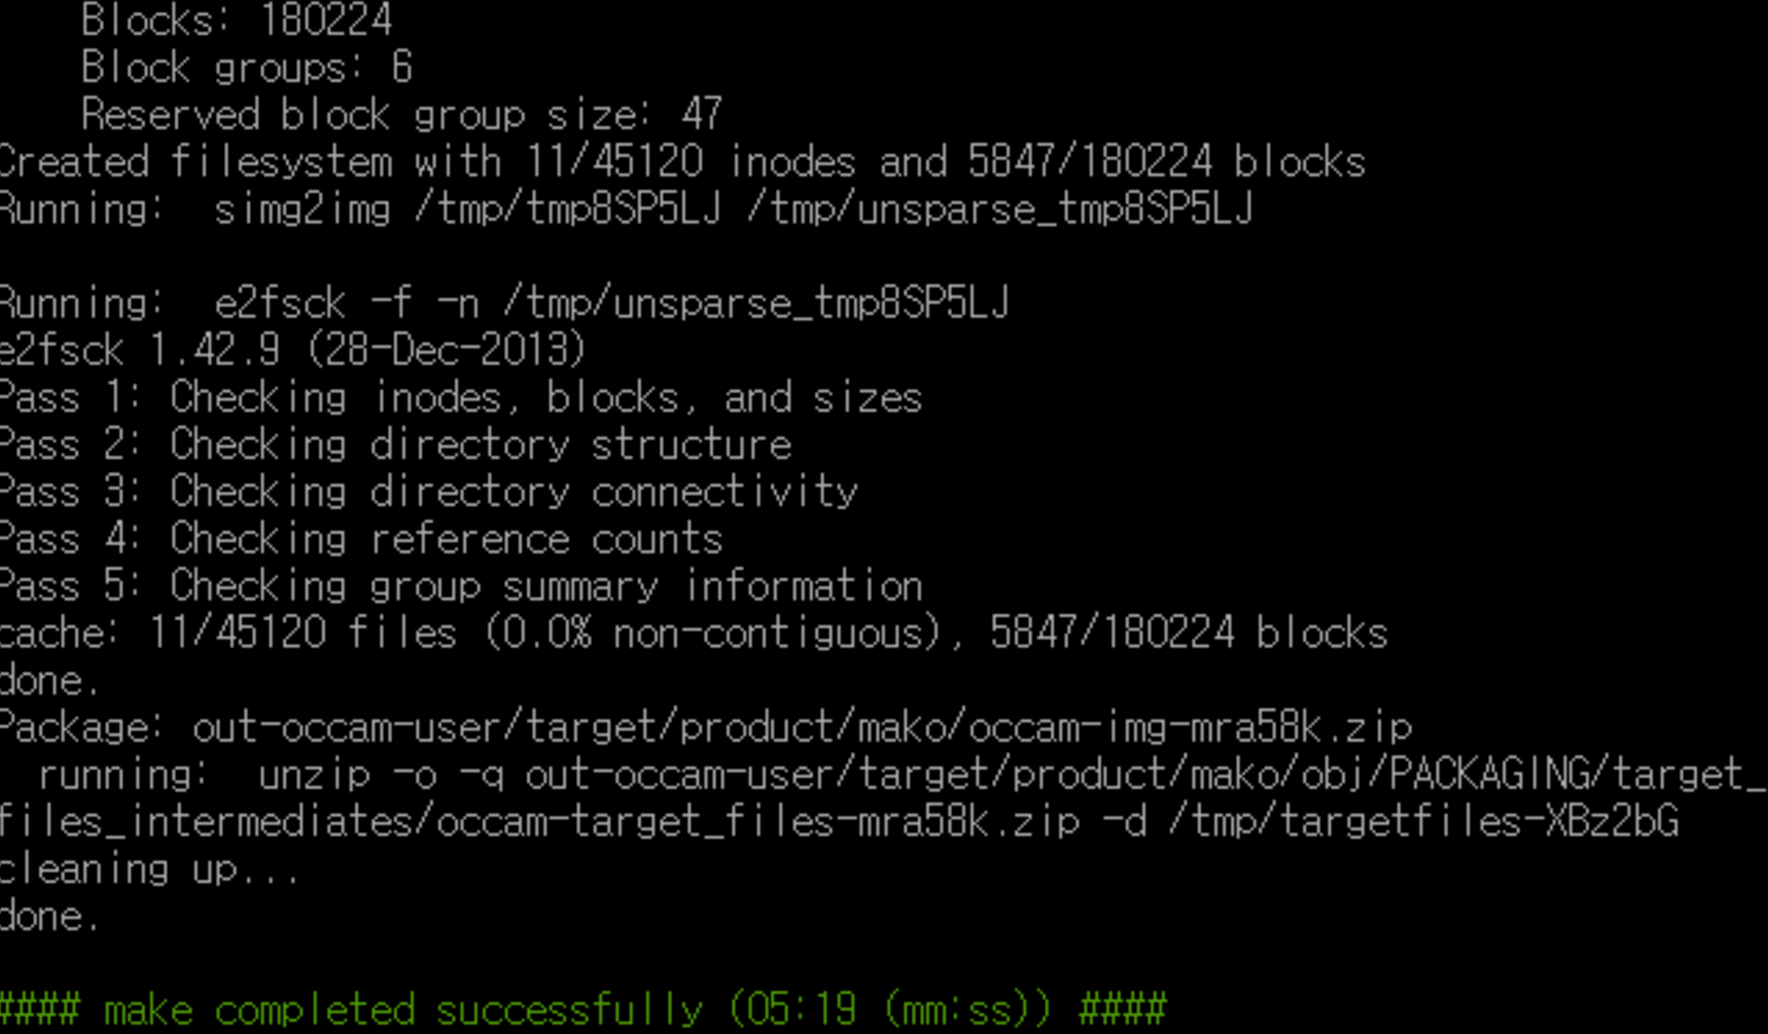
When you view the build output, you can learn a lot from the factory image.
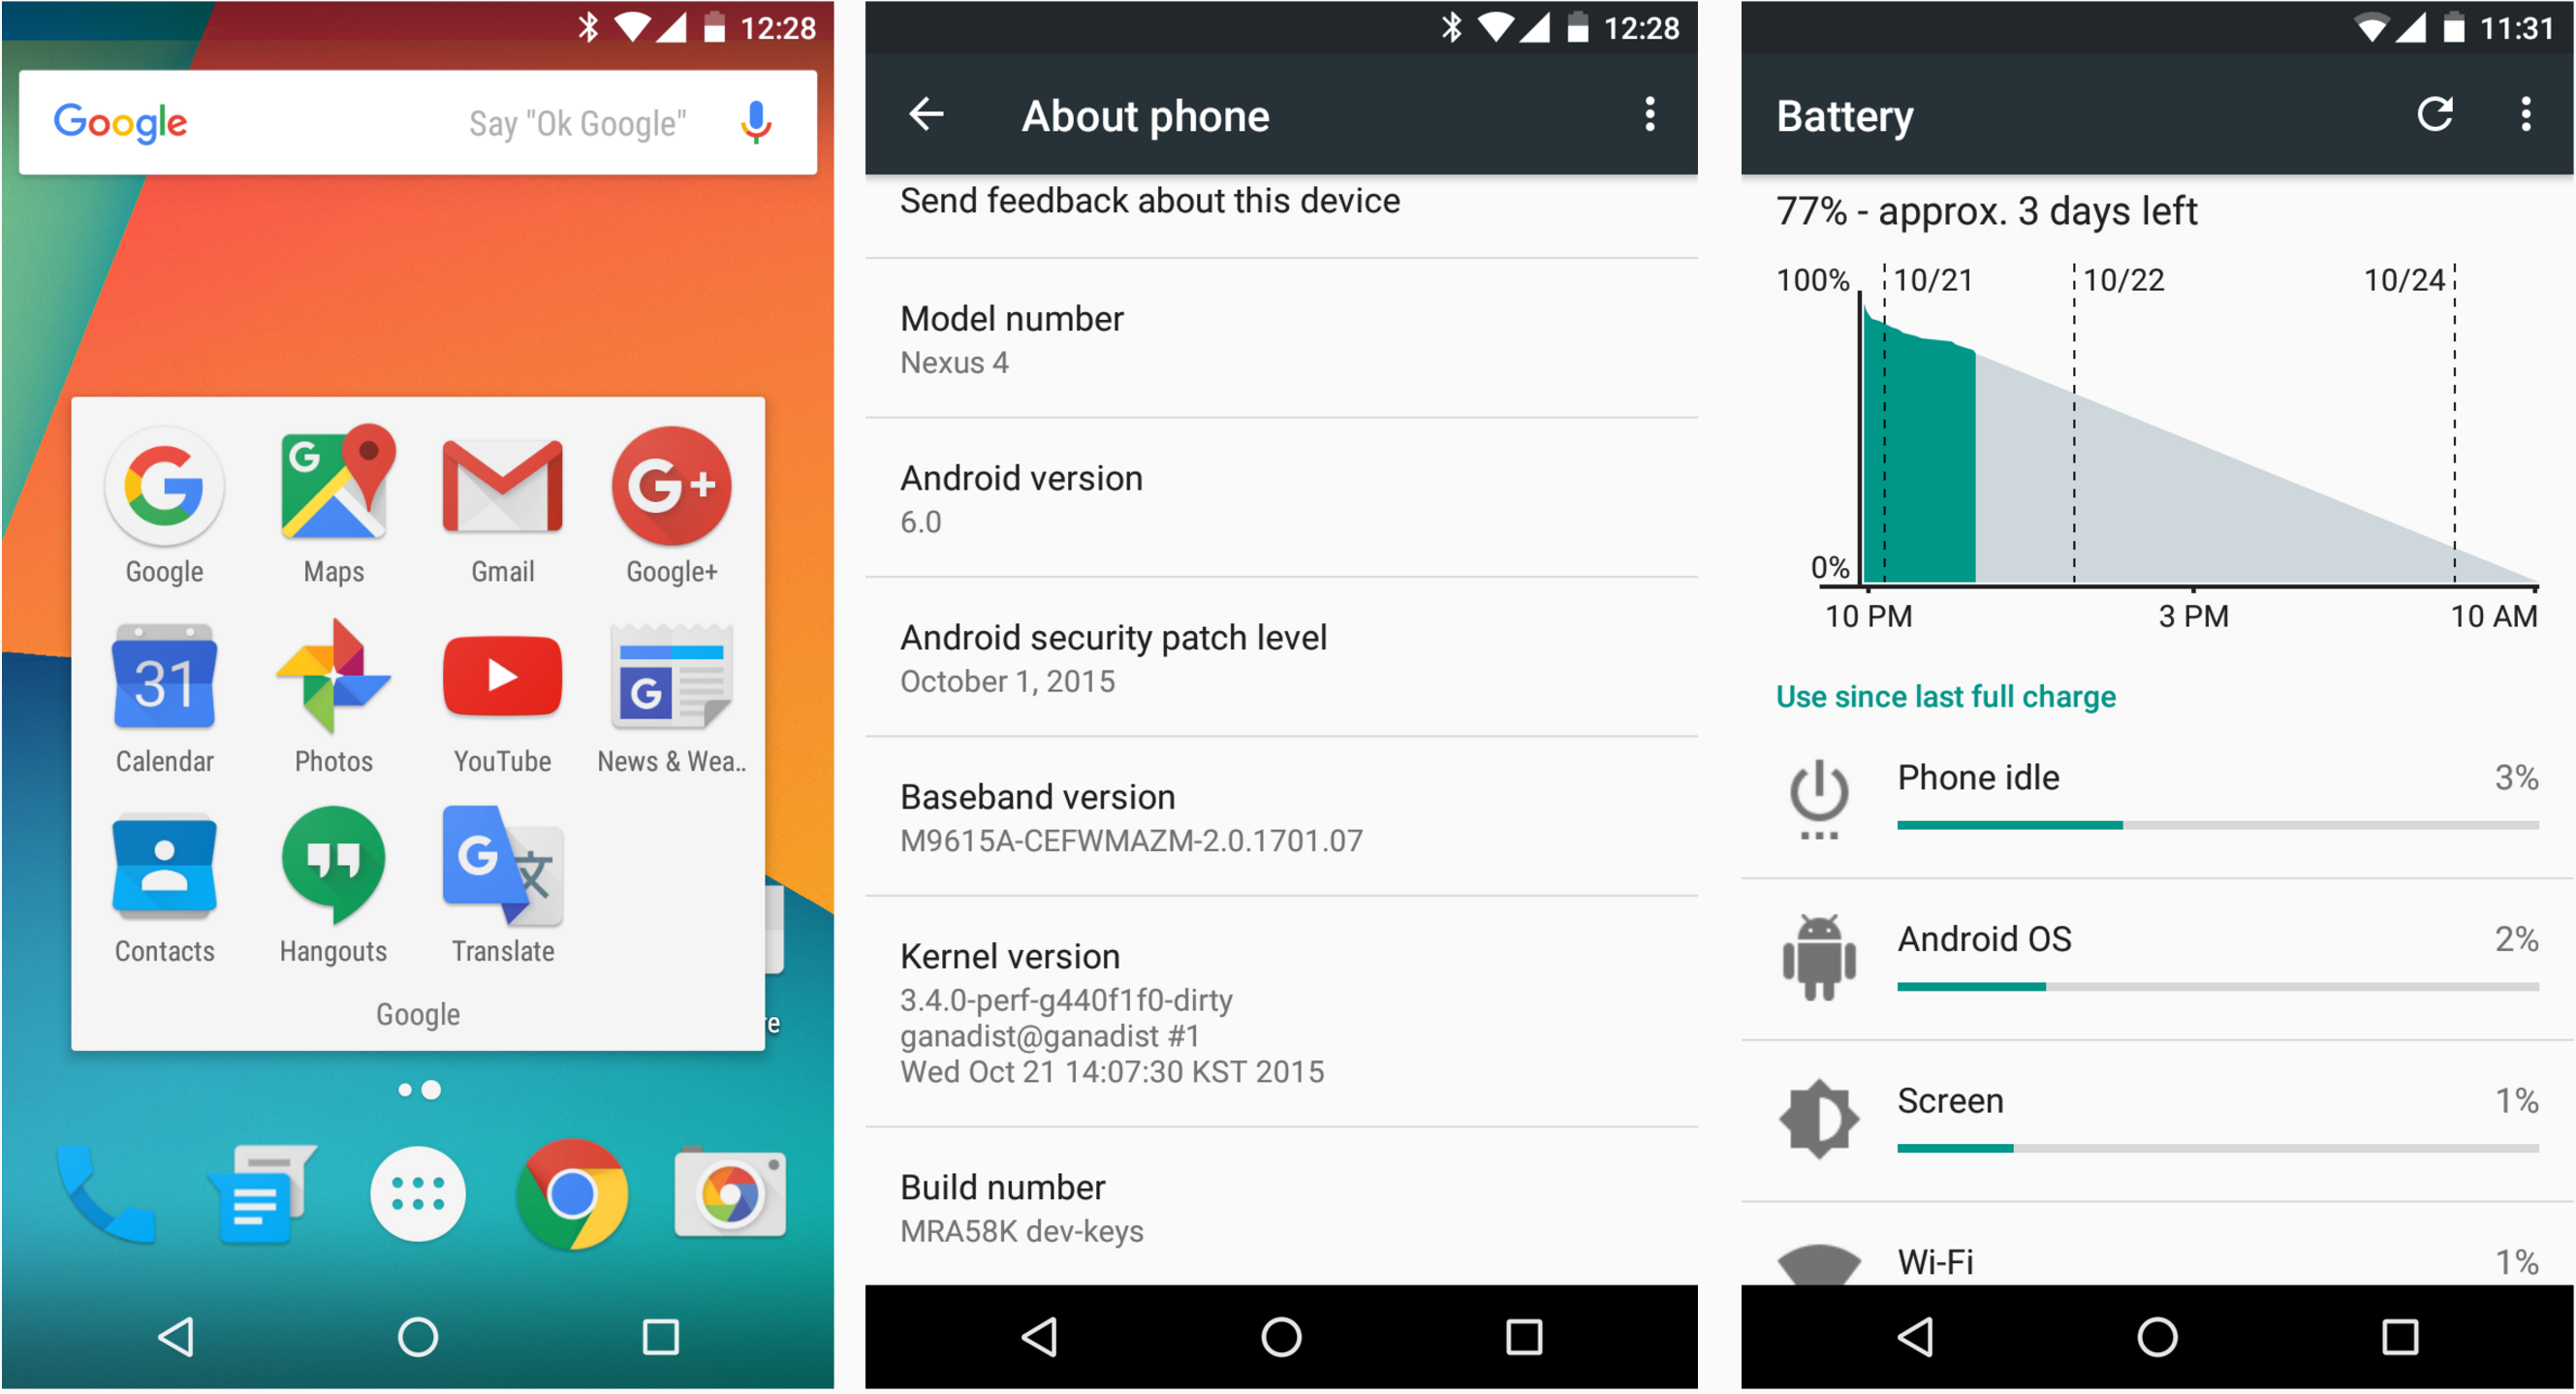
When you install this binary on a Nexus 4, you will find that it works great. Just like a real Nexus factory image, and it also has great battery efficiency.
More than a Nexus
Now, let’s dig deeper than a Nexus ROM. Did you know that a Nexus 4 has an LTE modem? LTE is disabled in the software, but when you enable it you can use LTE in the US. To enable it, you will need to change a property and a resource. Unfortunately, it only supports Band 4.
I wanted to make some performance improvements too. Bionic is the standard C library built by Google for Android. It works with Qualcomm and you can review it on the AOSP site. Their memcpy is 1.3 ~ 1.5X faster.

Nexus devices don’t have many buttons. Newer Nexus devices have a feature that allows you to turn on the camera by tapping the power button two times. However, AOSP doesn’t have the code to support that feature.
Look at the code below and you will see that the implementation of this function is not hard. The change is in the PhoneWindowManager
private void powerMultiPressAction(long eventTime, boolean interactive, int behavior) {
    switch (behavior) {
        case MULTI_PRESS_POWER_NOTHING:
            break;
        case MULTI_PRESS_POWER_THEATER_MODE:
            if (!isUserSetupComplete()) {
                Slog.i(TAG, "Ignoring toggling theater mode - device not setup.");
                break;
            }
            if (isTheaterModeEnabled()) {
                Slog.i(TAG, "Toggling theater mode off.");
                Settings.Global.putInt(mContext.getContentResolver(),
                        Settings.Global.THEATER_MODE_ON, 0);
                if (!interactive) {
                    wakeUpFromPowerKey(eventTime);
                }
            } else {
                Slog.i(TAG, "Toggling theater mode on.");
                Settings.Global.putInt(mContext.getContentResolver(),
                        Settings.Global.THEATER_MODE_ON, 1);
                if (mGoToSleepOnButtonPressTheaterMode && interactive) {
                    mPowerManager.goToSleep(eventTime,
                            PowerManager.GO_TO_SLEEP_REASON_POWER_BUTTON, 0);
                }
            }
            break;
        case MULTI_PRESS_POWER_BRIGHTNESS_BOOST:
            Slog.i(TAG, "Starting brightness boost.");
            if (!interactive) {
                wakeUpFromPowerKey(eventTime);
            }
            mPowerManager.boostScreenBrightness(eventTime);
            break;
    }
}
There is a code path that intercepts the multi press events. This code alters the mode for Android wear users. Let’s tweak this part to achieve our goal. We can put the feature we need under MULTI_PRESS_POWER_BRIGHTNESS_BOOST
case MULTI_PRESS_POWER_LAUNCH_CAMERA:
    Slog.i(TAG, "Launching camera by power button.");
    if (!mCameraLensCoverState != CAMERA_LENS_COVERED) {
        if (!interactive) {
            wakeUpFromPowerKey(eventTime);
        }
        launchCamera();
    }
    break;
You can also implement the familiar Galaxy S feature that allows you to ‘turn on the camera by double tapping home button’ very easily.
Do we have a disk space issue?
I couldn’t install my image on the Nexus 4 because of a system partition space issue. When you check out the Nexus 5 factory image you will notice that they are using a work around for large apps because of the system partition capacity. In case of the Nexus 5, pre-installed apps are not real apps but dummy APKs which bring the user to Google Play.
Also, I removed the ODEX files except for the default class path. This will slow down the first boot, but I was able to use the device properly after the first boot. The first boot took 5~10 minutes. Other Nexus 4 custom ROMs can take tens of minutes more than normal.
Also, I removed the journaling area. The System partition is read-only, however the Nexus 4 has journaling areas included. I was able to save tens of megabytes by doing this.
Can you really create factory image from AOSP?
I suspected that Google’s factory image was different than AOSP. However, by performing an analysis of the AOSP and factory images I found that you can create the same factory image without changing the actual AOSP source code.
You can find my work on my GitHub repository:
One last thing - the new Nexus 5X is using different code from AOSP code. In most cases, resource values may change but the key doesn’t. However, the Nexus 5X factory image has an additional key that has been added. I assume the Android version has been updated. I expect new Android source code will be available soon.


Receive news and updates from Realm straight to your inbox